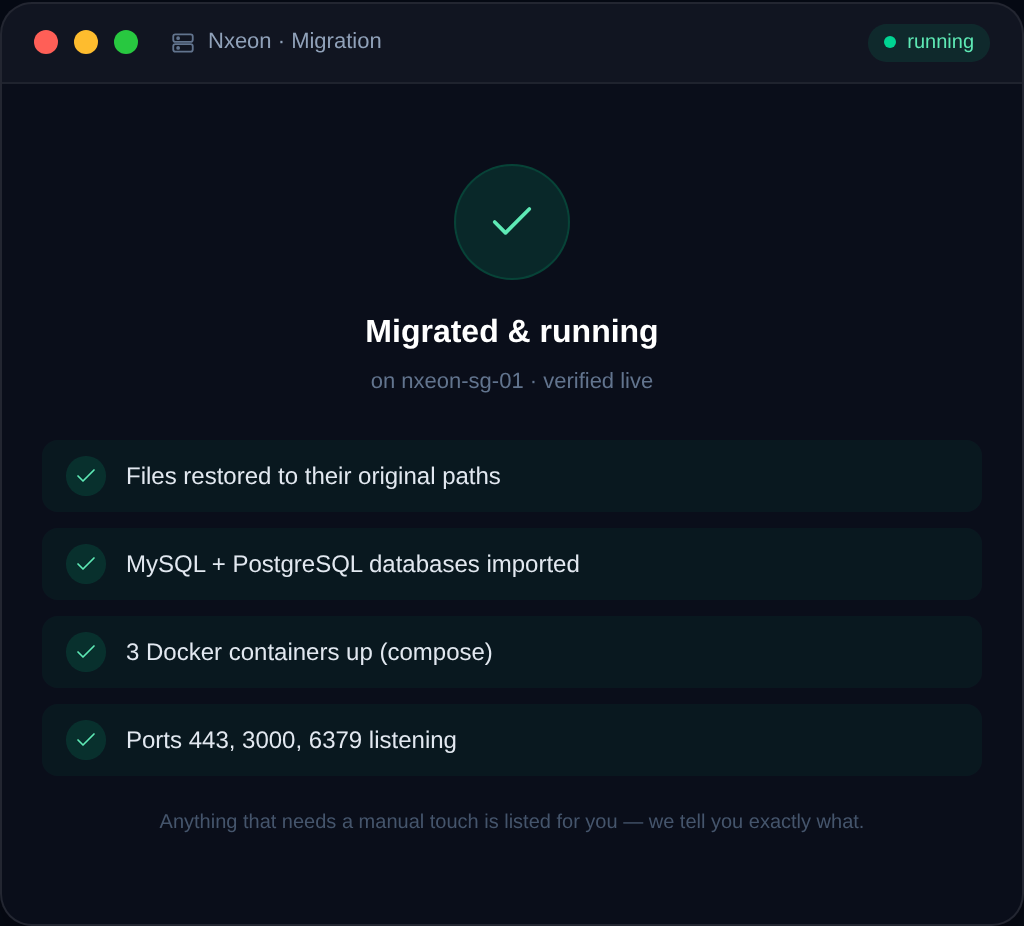
New to Nxeon? This beginner-friendly walkthrough takes you from sign-up to a live, secured server — choosing a plan, an OS image, connecting via SSH and the first steps.
Launching your first server can feel intimidating, but on Nxeon it's a few clicks and a couple of commands. This beginner-friendly guide takes you from sign-up to a live, secured VPS you can build on — no prior server experience assumed.
Step 1: Pick the right plan
Start by matching a plan to what you'll run. A rough guide:
- Small site, bot or learning project: entry-level, 1–2 GB RAM.
- Busy site or web app: 2–4 GB RAM.
- Database-heavy app or game server: 4 GB+.
Don't over-buy — a good VPS resizes as you grow. Our how to choose a VPS plan guide walks through sizing, and you can compare options on pricing. If budget is the priority, see best cheap VPS hosting.
Step 2: Choose an OS image
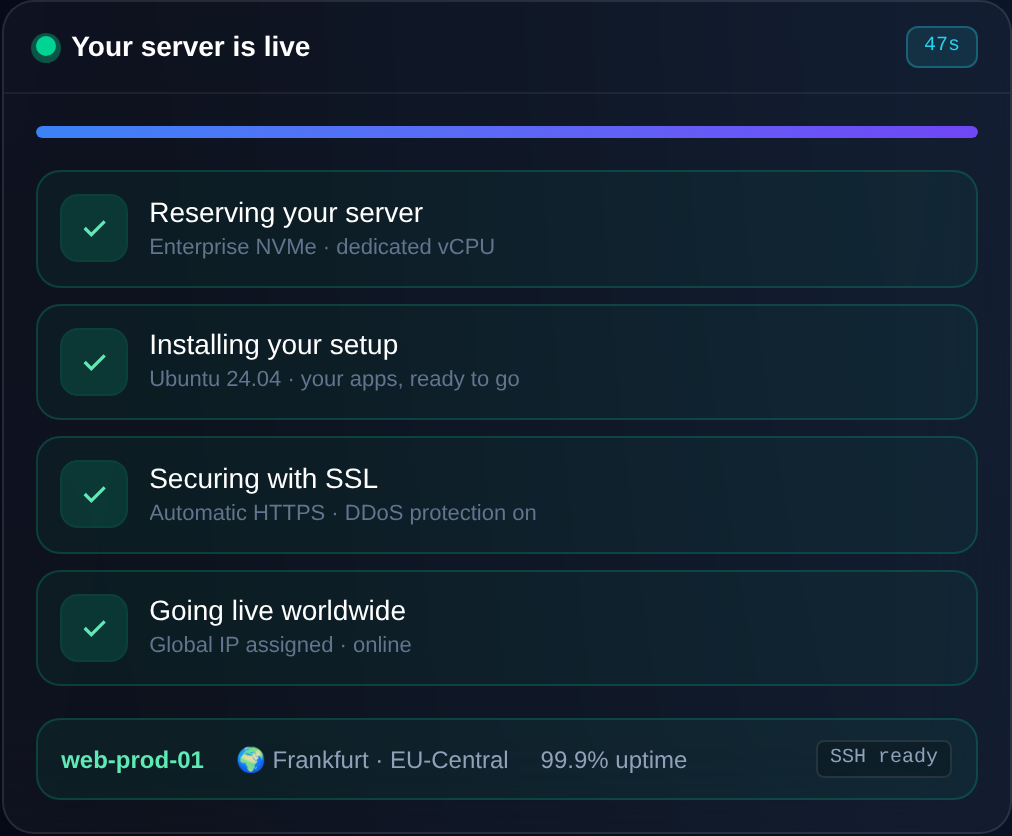
Nxeon offers one-click OS images, so you don't install an operating system by hand. For most people, a current Ubuntu LTS is the friendliest, best-documented choice. If you want an app pre-installed, one-click app images can save you the setup — see one-click apps on Nxeon. Deploy, and your server is provisioned in minutes.
Step 3: Connect via SSH
Once your server is live you'll get its IP address. Connect from your computer's terminal:
ssh root@YOUR_SERVER_IPOn first connection you'll accept the server's fingerprint and log in. New to SSH? Our how to connect to a VPS via SSH guide covers it, including using an in-browser terminal if you prefer not to leave the dashboard — see the in-browser terminal.
Step 4: Secure it straight away
Before building anything, spend a few minutes on the essentials:
- Create a non-root user with sudo — see how to create a sudo user on Linux.
- Set up SSH keys and disable password login — how to set up SSH keys.
- Enable a firewall:
sudo ufw allow OpenSSH
sudo ufw enable- Update the system:
sudo apt update && sudo apt upgrade -yOur first 10 minutes on a new VPS and securing your first Linux VPS guides give you a solid baseline fast.
Step 5: Build something
Now the fun part. Point a domain at your server (how to point a domain to your VPS), then deploy whatever you like — a WordPress site, a Node.js app, Docker containers, or a game server. You've got full root, so nothing's off-limits.
Understand what you're getting
Before you build, it helps to know what a VPS actually gives you so you use it with confidence. Your server is a real, isolated Linux machine with:
- Dedicated resources — the CPU, RAM and storage on your plan are yours, not shared with noisy neighbours the way shared hosting works.
- Full root access — you can install any software, change any setting, and run anything Linux supports. Nothing is off-limits.
- A public IP address — so your site, app or game server is reachable from anywhere on the internet.
- Persistence — unlike a temporary sandbox, your server keeps running and keeps your data until you decide otherwise.
That combination is why a VPS suits everything from a WordPress site to a Node app, a Docker stack or a game server. The trade-off for all that power is that you're responsible for the server — which the security steps below handle, and which one-click images and guides make very approachable.
Common first-server mistakes to avoid
A few missteps trip up almost everyone the first time. Sidestep them and your first server experience is smooth:
- Skipping security. The internet scans every new server within minutes. Don't postpone the firewall, SSH keys and updates — do them before you build anything, following the first 10 minutes on a new VPS.
- Working as root all the time. Create a sudo user and use it; root is for when you genuinely need it — see how to create a sudo user on Linux.
- Over-buying the plan. Start right-sized for your project; you can resize up in minutes when you actually need to.
- Forgetting backups. Set up automatic backups early, so a mistake while you're learning is never permanent.
- Not pointing a domain. An IP address works, but a domain makes your project real — connect one with how to point a domain to your VPS.
Avoid these and you'll have a secure, properly-configured server that's genuinely yours to build on.
Where Nxeon fits
Nxeon gives you NVMe KVM VPS with one-click images, full root and a clean dashboard — everything in this guide is a few clicks away. Ready to start? Head to register, browse the VPS overview, or explore what you can build on the developers page.
FAQ
How do I get started with Nxeon?
Sign up, pick a plan that matches your workload, choose a one-click OS image (Ubuntu LTS is a great default), and your server is provisioned in minutes. Then connect via SSH and secure it before building.
Which operating system should I choose?
For most people, a current Ubuntu LTS is the friendliest and best-documented option. Nxeon's one-click images mean you don't install the OS manually — just select and deploy.
Do I need to know Linux to use a VPS?
Basic familiarity helps, but guides and one-click images make it approachable for beginners. You can copy-paste the commands in this guide, and an in-browser terminal means you don't even need a separate SSH client.
How do I keep my first server secure?
Create a sudo user, set up SSH keys and disable password login, enable a firewall, and keep the system updated. A few minutes of setup protects against the vast majority of automated attacks.
Ready to launch? Head to register or compare plans on pricing.
Cloud VPS hosting
Deploy in seconds, not weekends
Nxeon · Nxeon editorial
★★★★★ Straight-talking guides from the team that runs the servers.